How to install Centre Opening pleated mesh kits
Instructions for installing a Centre Opening Retractable Flyscreen
Watch these short videos to see how easy it is to set up the handlebar and pleat ready for installation
How to install Centre Opening pleated mesh kits
Some PRO Tips before you get started
Check out our time saving PRO TIPS
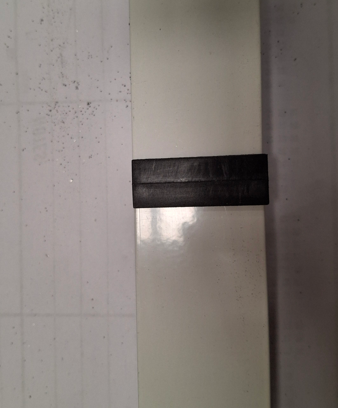
Top Frame Joiners
All Centre open screen top and bottom tracks come in 2 parts. In your parts bag you will find a top plate joiner, simple join both parts together prior to installing the top track.
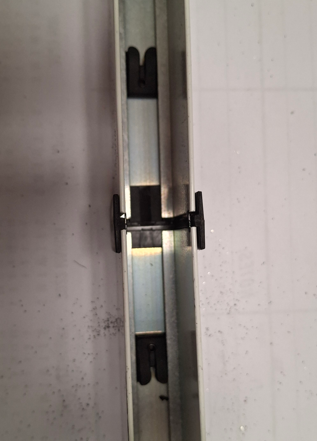
Inserting Top Tension Blocks
When assembling the top track, insert the top string tensioners as per the photo above. Make sure the "V" opening is as per the picture above. Once this is done you can install the top track.

For XL and XXL wide screens - Wind Supports
For screens over 3m wide one way and 6m center opening, you will need to install a wind support in the middle of the pleat. This is inserted using a pair of pliers and gripping the pleat as per the above photo.
How to set up the handle bar rollers
Watch this short video to see how easy it is to set up the handlebar and pleat ready for installation
Attaching the pleat to the handlebar
How to install a larger Centre Opening Retractable flyscreen
For wider span Stacker Doors, Bi-Folds or French doors you will need a Centre Opening Retractable Flyscreen. Watch this short video to see how easy it is to install our custom made larger retractable flyscreens
Time Saving PRO TIP for bottom string tensioning
Watch this short video to see how we tension the Centre Opening Retractable Flyscreen.
How to install one-way pleated mesh kits
Click here to download the PDF instructions